So, you're thinking about getting your asphalt driveway sealcoated. That's a smart move for protecting your investment, especially with our Colorado sun and those harsh winters we get here in Westminster. But before you jump in, let's talk about what a sealcoating project really looks like, from start to finish. It's more than just slapping on some black stuff; there's a process, and knowing it helps you get the best results.
Understanding the Timeline
The first thing to get straight is the timeline. This isn't a quick, one-day job you decide on a whim. Weather plays a huge role, especially here. You need consistent temperatures, typically above 50 degrees Fahrenheit, for at least 24 hours after application. That means spring, late summer, and early fall are your sweet spots around Westminster. If you're thinking about it in November, you've probably missed the boat for the year.
Once you decide to move forward, getting on a contractor's schedule can take a few weeks, sometimes longer during peak season. Good contractors are busy. The actual work itself usually takes one to two days, depending on the size of your driveway and how much prep work is needed. Then, you're looking at a minimum of 24-48 hours, sometimes even 72 hours, before you can drive on it. So, plan for your car to be off the driveway for a few days. It's not optional; it's critical for proper curing.
What to Expect During the Process
Alright, let's break down what happens on the day(s) of the job. When the crew from Westminster Paving or another reputable company shows up, they won't just start pouring. The first, and arguably most important, step is preparation.
- Cleaning: They'll thoroughly clean the driveway. This means blowing off loose debris, sweeping, and often power washing to remove dirt, oil, and grime. If there's any moss or weeds growing in cracks, those need to go too.
- Crack Repair: Small cracks will be filled with hot pour crack filler. This is essential. Sealcoat isn't a crack filler; it's a protective layer. If cracks aren't addressed first, they'll just show right through the sealcoat and continue to get worse.
- Oil Stain Treatment: Stubborn oil spots might need a primer or special treatment to prevent them from bleeding through the new sealcoat.
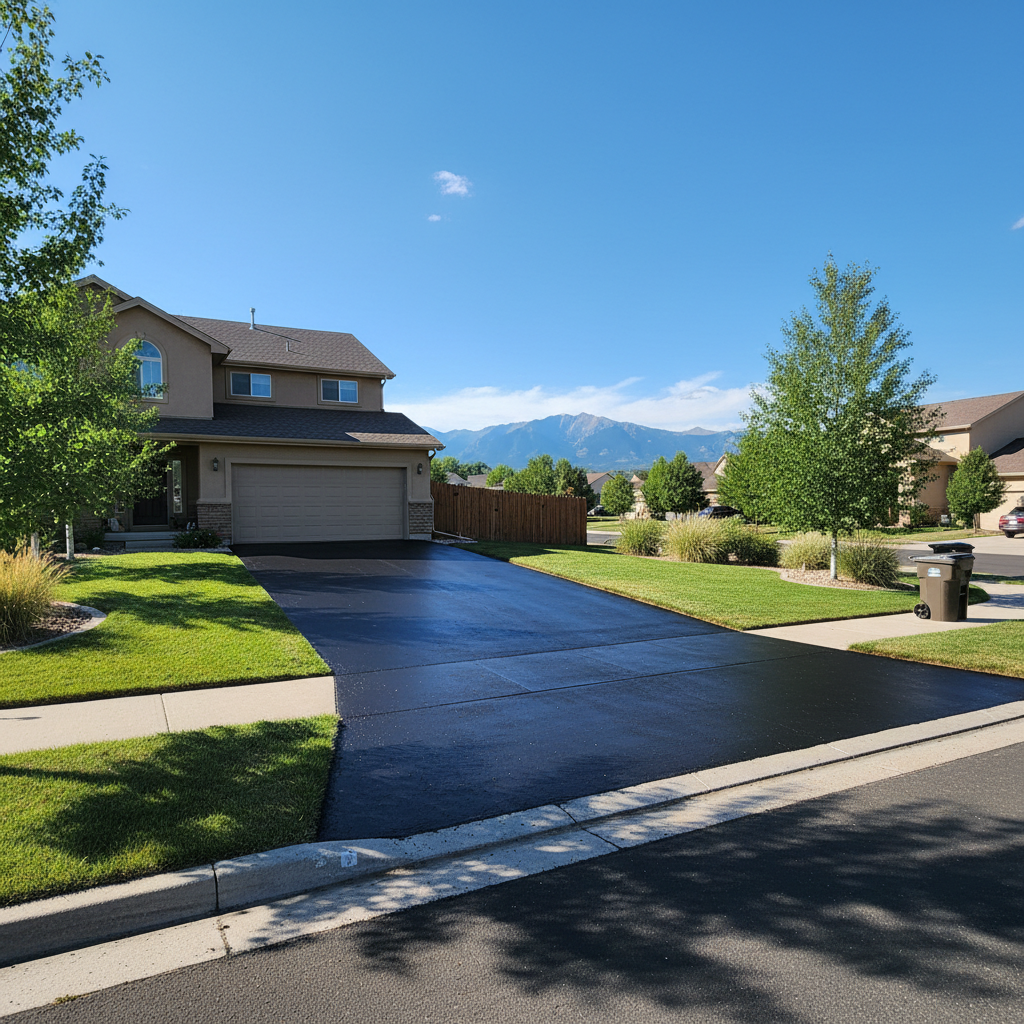
- Application: Once the surface is clean and prepped, the sealcoat is applied. This is usually done with squeegees or sprayers. Most reputable contractors will apply two coats for better durability and appearance. They'll also block off your driveway with cones or tape to make sure no one accidentally drives on it while it's curing.
It's going to look wet and shiny at first, then it'll dry to a nice matte black finish. Don't be alarmed if you see some slight variations in color or texture while it's curing; that usually evens out.
How to Prepare Your Driveway
You've got a part to play too! A little prep on your end can make the contractor's job easier and ensure a better outcome.
- Clear the Driveway: Move all vehicles, trash cans, basketball hoops, potted plants, and anything else off the driveway and surrounding areas. Make sure there's plenty of space for the crew to work.
- Trim Vegetation: Trim back any overhanging branches or bushes that might interfere with the application or drop debris onto the fresh sealcoat.
- Address Major Issues: If you have really large cracks, potholes, or drainage issues, talk to your contractor about those well before the sealcoating day. Sealcoating won't fix structural problems; those need proper asphalt repair.
- Plan for Parking: Remember, you won't be able to use your driveway for a couple of days. Figure out where you're going to park your cars and how you'll get in and out of your house if your driveway is your main access.
- Turn Off Sprinklers: Make sure your sprinkler system is off for at least 24 hours before the job and for a few days after to prevent water from washing away or damaging the fresh sealcoat.
Questions to Ask Before Signing a Contract
Before you commit, you need to be asking the right questions. Don't be shy; this is your property and your money.
- What kind of sealcoat product do you use? There are different types, and some are better quality and more durable than others. Ask about the specifics.
- How many coats will you apply? Two coats are standard for a quality job. If they only offer one, ask why.
- What's your preparation process? Make sure they detail cleaning, crack filling, and oil spot treatment. A good contractor won't skimp on prep.
- What's the curing time? Get a clear answer on when you can safely drive on it.
- Do you have references? Any reputable contractor should be happy to provide them.
- Are you licensed and insured? This is non-negotiable. You need to know they're covered in case of accidents or damage.
- What's your warranty? Understand what's covered and for how long.
- What's the total cost, and what does it include? Get a written estimate that breaks down all the services. No surprises.
Taking the time to understand these steps and ask these questions will save you headaches down the road. A well-planned sealcoating project means a longer-lasting, better-looking driveway, and that's what we're all after, right?